
⬅️ Previous - App Deployment on Render
➡️ Next - Streamlit for Demos
In this lesson, you’ll build a sleek, self-contained chatbot app using Gradio + LangChain + Groq. No separate backend. No complex routing. Just one script that launches a beautiful UI and even gives you a public link to share your demo.
Perfect for:
This is not for production-scale deployment. But it’s an ideal way to showcase your work—instantly.
📁 Code Repository: All the code for this lesson is available in the attached repository. You can follow along or reference the complete implementation as you build.
🎥 Video Walkthrough: Below you'll find a step-by-step video showing how to deploy your Gradio app to Hugging Face Spaces for permanent hosting.
In the last two lessons (1a and 1b), you built an API service using FastAPI and deployed it to the cloud with Render. That approach is practical and production-friendly—but let’s be honest, it’s not very pretty.
What if you wanted to:
For all of that, we have Gradio (and in the next lesson, Streamlit).
Gradio is a Python library from Hugging Face that lets you create interactive UIs for your models and apps—without touching frontend code. It’s fast, minimal, and tailor-made for demos and assistants like yours.
![]()
Here’s what makes it a great starting point:
✅ Instant UI: Add text boxes, buttons, and chat history in minutes
✅ Fully self-contained: No backend server needed
✅ Public link sharing: Demo your app without deploying
✅ Native LLM support: Works seamlessly with LangChain workflows
It’s a perfect fit for LLM-based assistants, quick demos, and idea validation.
So let’s build a Gradio app that wraps your LangChain logic in a slick, shareable UI.
A fully functional AI assistant that:
All in one Python file.
Let's walk through building a simple chatbot app using Gradio and LangChain. This will give you a solid foundation for creating interactive AI applications.
Before running the app, make sure you have:
.env file with your GROQ_API_KEYCreate a .env file with your API key:
GROQ_API_KEY=your_groq_api_key_here
Our project will have a simple structure:
lesson2_gradio/
├── main.py
└── requirements.txt
This part sets up your LLM and defines how the assistant should respond to user messages.
from langchain_groq import ChatGroq
from langchain_core.messages import HumanMessage, SystemMessage
import os
from dotenv import load_dotenv

# Load environment variables
load_dotenv()

# Initialize the LLM
llm = ChatGroq(
    model="llama-3.1-8b-instant",
    temperature=0.7,
    api_key=os.getenv("GROQ_API_KEY")
)

def get_ai_response(user_message: str) -> str:
    messages = [
        SystemMessage(content="You are a helpful AI assistant. Answer the user's questions."),
        HumanMessage(content=user_message),
    ]
    response = llm.invoke(messages)
    return response.content

def chatbot_interface(message, history):
    if not message.strip():
        return history, ""

    bot_response = get_ai_response(message)
    history.append({"role": "user", "content": message})
    history.append({"role": "assistant", "content": bot_response})
    return history, ""
This gives you a smart assistant grounded in Groq’s fast LLMs, with a visible chat history for the user.
Now we wrap that logic in a beautiful, browser-based interface.
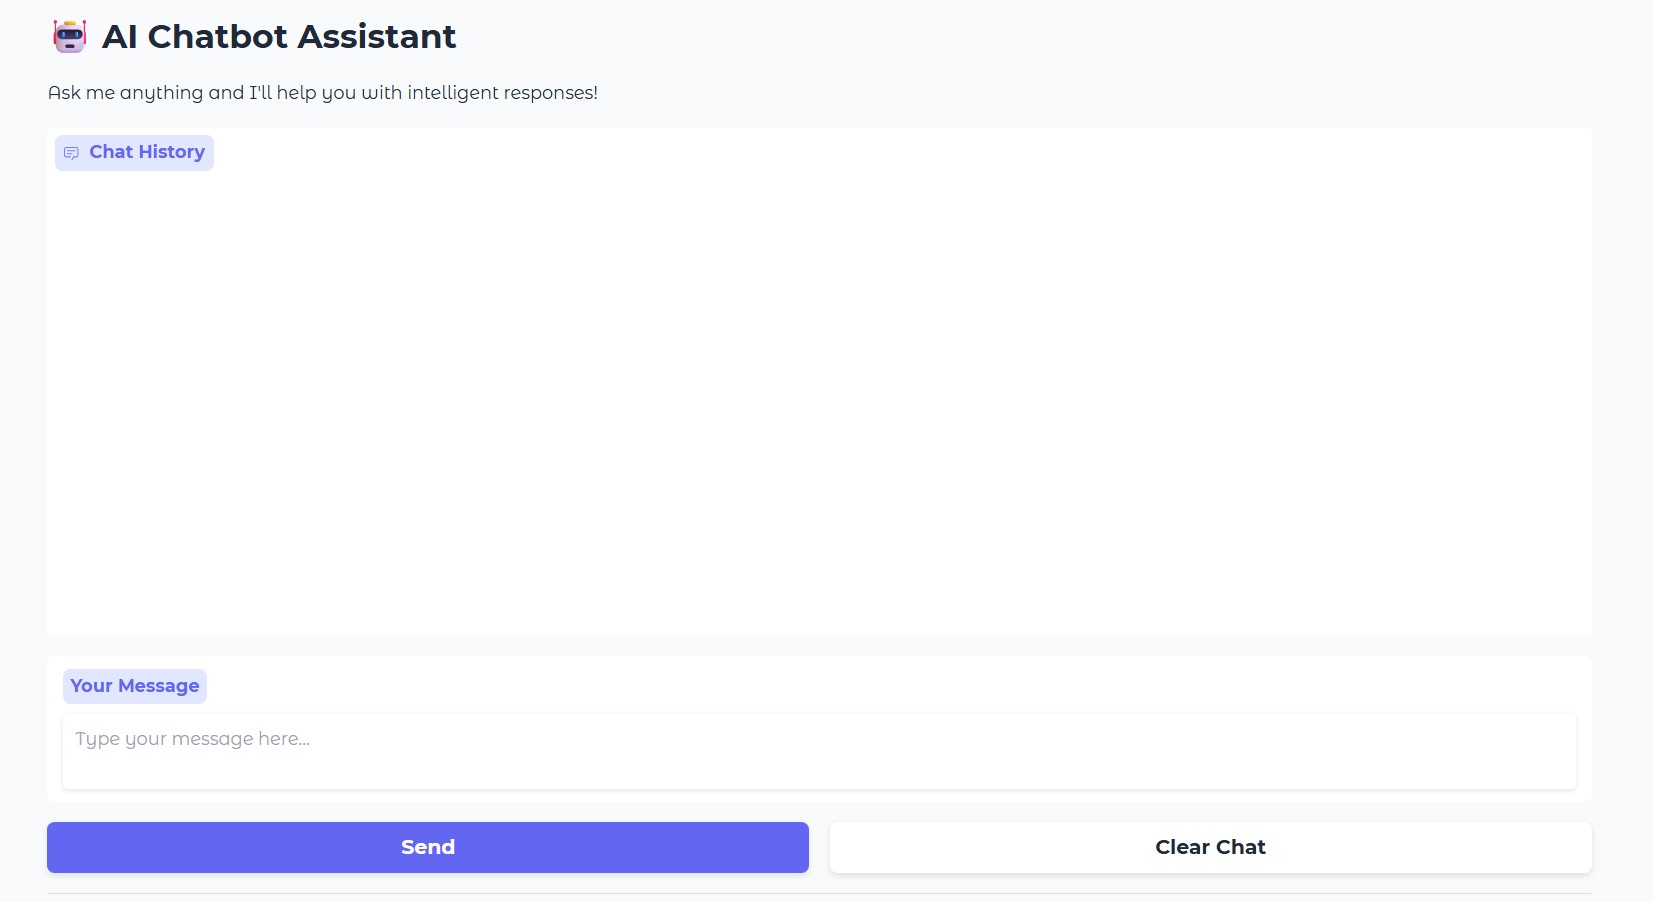
import gradio as gr

def create_interface():
    with gr.Blocks(theme=gr.themes.Soft()) as demo:
        gr.Markdown("# 🤖 AI Chatbot Assistant")
        gr.Markdown("Ask me anything and I'll help you with intelligent responses!")

        chatbot = gr.Chatbot(
            value=[],
            height=400,
            label="Chat History",
            show_copy_button=True,
            type="messages"  # new Gradio format
        )

        msg = gr.Textbox(
            placeholder="Type your message here...",
            label="Your Message",
            lines=2
        )

        with gr.Row():
            submit_btn = gr.Button("Send", variant="primary")
            clear_btn = gr.Button("Clear Chat", variant="secondary")

        submit_btn.click(chatbot_interface, inputs=[msg, chatbot], outputs=[chatbot, msg])
        msg.submit(chatbot_interface, inputs=[msg, chatbot], outputs=[chatbot, msg])
        clear_btn.click(lambda: ([], ""), inputs=[], outputs=[chatbot, msg])

        gr.Markdown("---")
        gr.Markdown("💡 Built with Gradio + LangChain + Groq")

    return demo
Finally, launch the app with:
if __name__ == "__main__":
    demo = create_interface()
    demo.launch(
        share=True,
        server_name="127.0.0.1",
        server_port=7860,
        show_error=True
    )
The interface keeps a visible chat history, so users see the full conversation.
Run the app:
python main.py
This launches your app at http://127.0.0.1:7860 and (thanks to share=True) also gives you a public link you can share.
And just like that, you have a slick, fully functional AI assistant running in your browser!
Gradio makes it easy to share your app — but if it’s powered by a paid LLM (like Groq or OpenAI), every interaction can cost you.
Before sharing the public link:
This lesson is about building great demos, not footing the bill for strangers' curiosity. Share responsibly.
This Gradio app is:
✅ Great for rapid demos
✅ Excellent for interviews or portfolios
✅ A simple way to test LLM ideas with users
But it’s not for production. There’s no user auth, no rate limiting, no database—just a clean wrapper around your logic.
For production-ready deployment, see our FastAPI + Render lesson.
Gradio integrates seamlessly with Hugging Face Spaces.
You can host your app with:
requirements.txt and your .py fileWe cover that in the video for this lesson.
In the video, you'll learn how to:
Gradio is simple, flexible, and purpose-built for rapid prototyping. If you want to get your AI assistant into someone’s hands in under 10 minutes, this is the way to do it.
In the next lesson, we’ll explore Streamlit — another UI framework that gives you more layout flexibility, better data visualization, and the ability to build full dashboards and multi-page apps.
But for fast AI apps in a single file?
Gradio is tough to beat.
⬅️ Previous - App Deployment on Render
➡️ Next - Streamlit for Demos